 Perhaps you are one of the lucky ones. Perhaps you have never had a hard drive crash or your laptop die on you. If this is the case, trust me, you’re on borrowed time! Prevention is better than the cure, so read on for suggestions on how to safeguard your laptop. Mac LaptopsApple makes backing up your laptop a breeze with the inbuilt software Time Machine. There are a couple of options that work with Time Machine, depending on need:
PC LaptopsBecause of the wide variety of PC laptops, it’s difficult to make tailored recommendations. External hard drives work here also, but you will need to specifically decide which folders to back up, and copy those over to the hard drive individually. All Laptops Another solution is to use an Online Backup Service. PC magazine has a review of online backup services published in August 2017. I would probably recommend Carbonite as the most reasonably priced option, however SOS Online Backup is a more expensive alternative. PhotosPhotos for me deserve a special mention, because of the memories we attach to them. Backing up our laptop as a whole is important, however, backing up photos needs to be considered independently. We want to return to our photos, be able to look through them, print them, or maybe make them into books. Either way, we want ready access, and we don’t want the process of saving them to be a total palaver. Google Photos By far the best option that I can see is to use Google Photos. It allows you to upload or sync unlimited photos (at a slightly reduced file size). Alternatively, if you want full size files, you will need to pay a bit more, but really, the compressed size is more than adequate. This article explains all the ins and outs really comprehensively. What’s great about Google Photos is the incredible search functionality. Want to find photos of children writing? Search “Writing”! It’s that simple. Flickr A free Flickr account has 1 Terabyte of free storage for images and videos. You can auto-upload photos from your laptop or phone, so you will not have to worry about backing individual ones up. That said, you probably only want to back up your best photos, not all of them. The search function isn’t as advanced as the Google Photos app, but you can tag and describe your pictures if you so wish. I hope this helps make your backing up process slightly less painful. If you have any other suggestions, I would love to hear about them in the comments.
Happy holidays!
23 Comments
 Storybird
Setting Free the Untold Stories in Education
Seesaw Printables
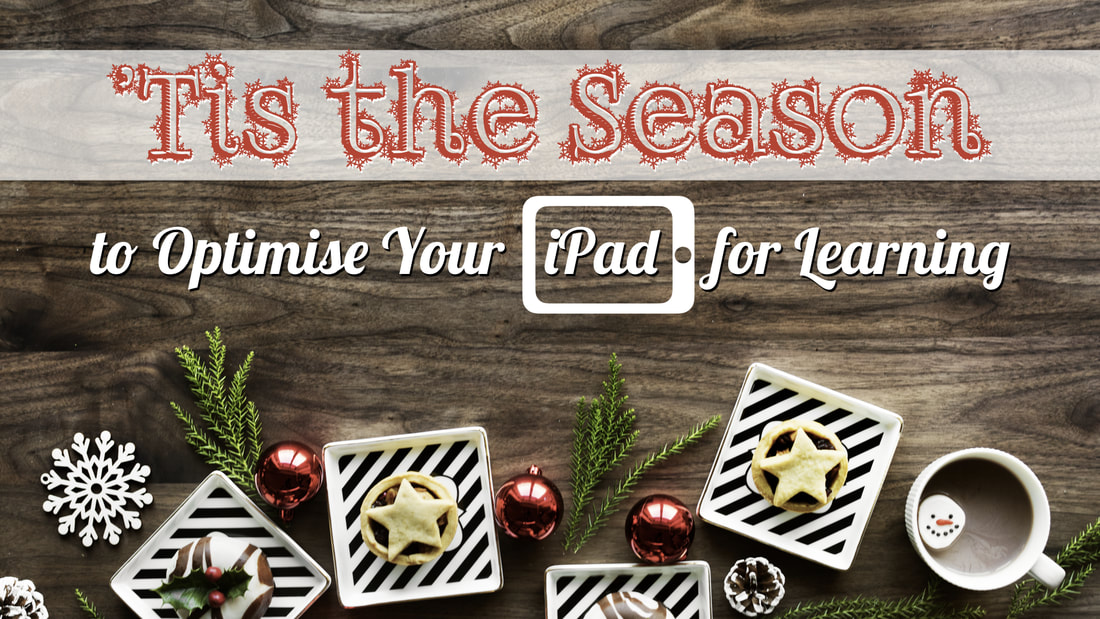 Holidays are a great opportunity to get organised - sort out all of those jobs that have been piling up around you. We hope that top of your list is sorting out your iPad. If it’s not, it should be! We have some students at school who are running out of storage on their iPad, meaning they sometimes have difficulty completing the learning tasks teachers have planned. Many aren’t running the latest operating system, meaning functionality of some apps is limited, or indeed, not working at all. 1. Manage your StorageGo to General > iPad Storage. Follow the tutorial below to view your storage usage. There you will find tips on reducing your storage. Typically, the native Photos app will take up the most space, as it is housing all of your photos and videos. Why not delete unused apps? Perhaps you learn that a game is taking up a lot of valuable storage space - time to delete it? 2. Organise your PhotosOften, we take several photos of the same thing, and choose the best one to use in a project or to share. Getting students into the habit of deleting the photos that aren’t as good, is an important skill to teach them. An easy way to do this is to Favourite ♥ the best photos (using the heart function underneath), then go to camera roll where you can select all the photos that don’t have hearts on them, and delete them. Don’t forget to delete photos/videos in the Recently Deleted folder. 3. Back up your Best PhotosOnce you have gotten rid of sub-par photos, it’s time to make sure your best photos are stored somewhere safely. There are a number of options for you, but here are a couple of my favourites: Google Photos Google Photos allows you to upload or sync unlimited photos (at a slightly reduced file size). What’s great about this is that you can search them really easily. Want to find photos of children writing? Search “Writing”! It’s that simple. Google Photos is the most straight-forward way of backing up your photos in the cloud. Flickr A free Flickr account has 1 Terabyte of free storage for images and videos. You can auto-upload photos from your iPad camera roll, so you will not have to worry about backing individual ones up. That said, you want to back up your best photos, not all of them. The search function isn’t as advanced as the Google Photos app, but you can tag and describe your pictures if you so wish.
5. Update Your Apps
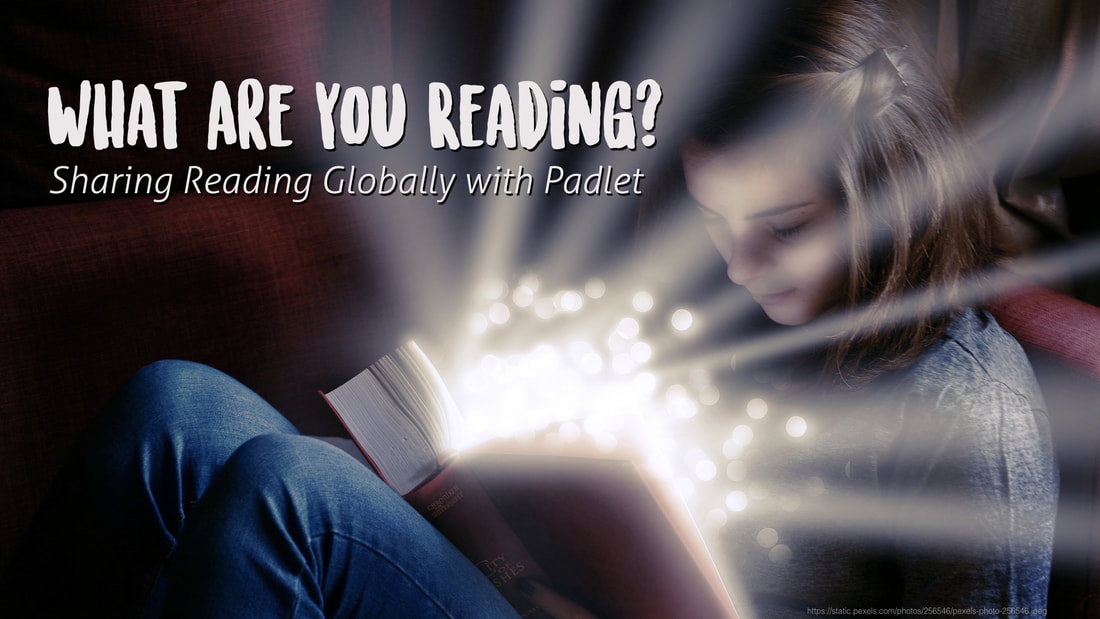
My dear friend and literacy mentor Kristin Ziemke renewed my love for Padlet when she showed how it could be used to share what books students were reading. We decided to kick-start a collaborative project with our Grade 4 students - creating a Padlet with our current reading books, and inviting participation from other classes around the world via Twitter.
Students and teachers from Singapore, Shanghai, and Switzerland joined in, and it was wonderful to see the comments and questions add to our initial offerings. We will cycle back in again so our students can respond and add their own comments as well.
My daughter Scarlett helped produce some tutorials about how to add to our Padlet from either a computer or an iPad, to make it easier for those new to the tool to use it.
As a PYP school, we don’t want to just pay lip service to International Mindedness, but to work hard to understand and connect with people from different backgrounds and geographical locations. This Padlet helps to share a love of reading and show our students the similarities that exist between children of different cultural backgrounds.
This type of project isn’t possible without the open-mindedness of the teachers involved. Thank you to Melissa, Julie, Stephanie, Kim and Olivia for helping spread a love of literacy and giving your students an opportunity to connect with us. When teachers share their students’ learning on platforms such as Twitter, we can all benefit. There is no more powerful motivator than an authentic audience. If you would like to continue the journey, contact the Grade 4s at their class Twitter account: @GWASGrade4  Hour of Code
Project Rockit
Sketchnoting for Teaching and Learning

In terms of relevant life skills to foster in all students, managing distractions has to be high on the list. Our aim is to have students who can successfully focus on tasks and manage their time effectively. So how exactly do we go about helping our students achieve that?
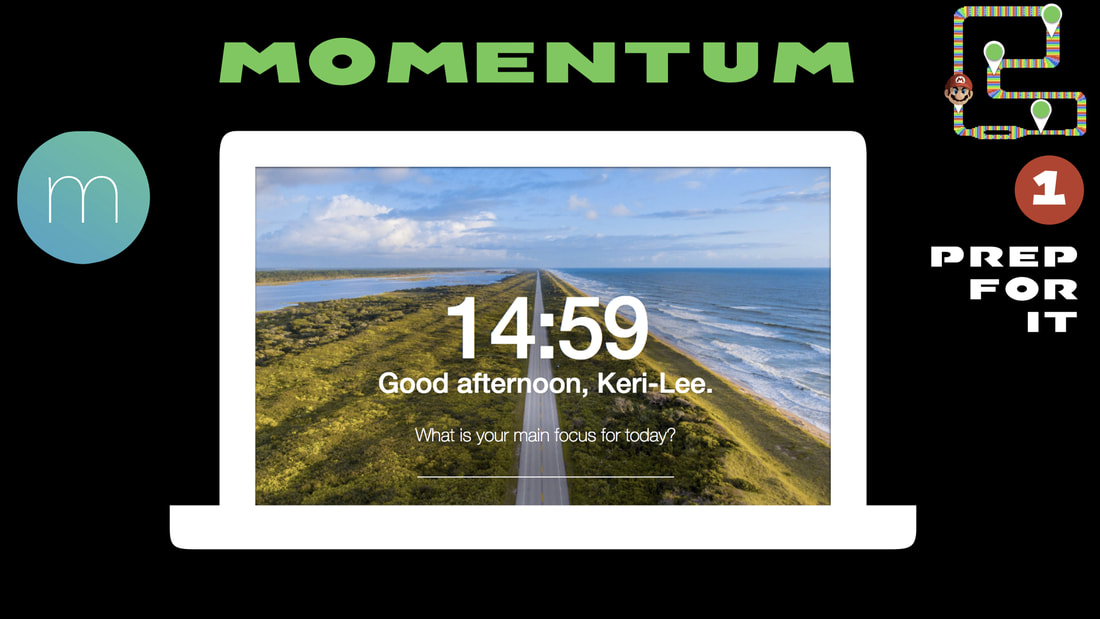
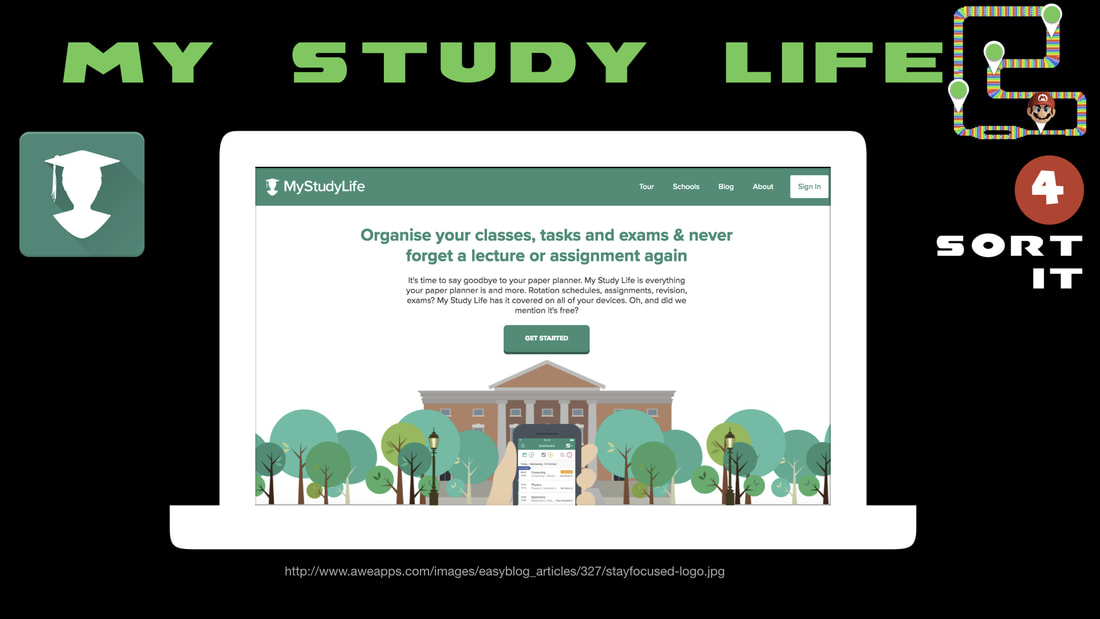
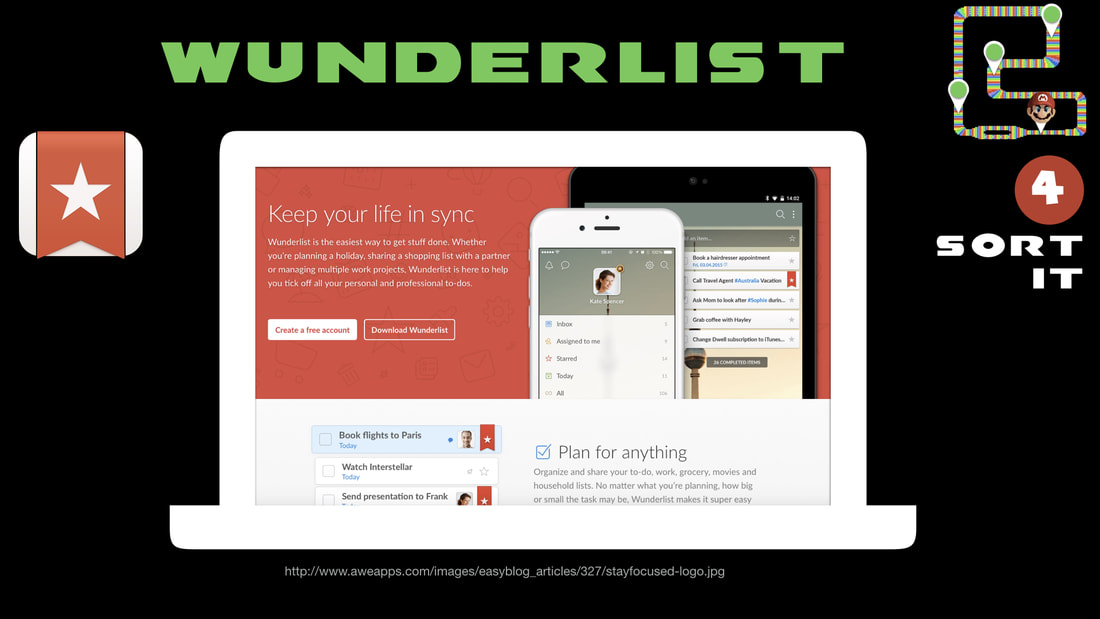
We know “Knowledge is Power,” so providing background information and suggestions for how to maintain focus on tasks, is essential. The following suggestions are taken from a presentation I delivered to Grade 10 students here at GEMS World Academy, Switzerland, organised around 4 key ideas: 1. Prep for it 2. Track it 3. Block it 4. Sort it 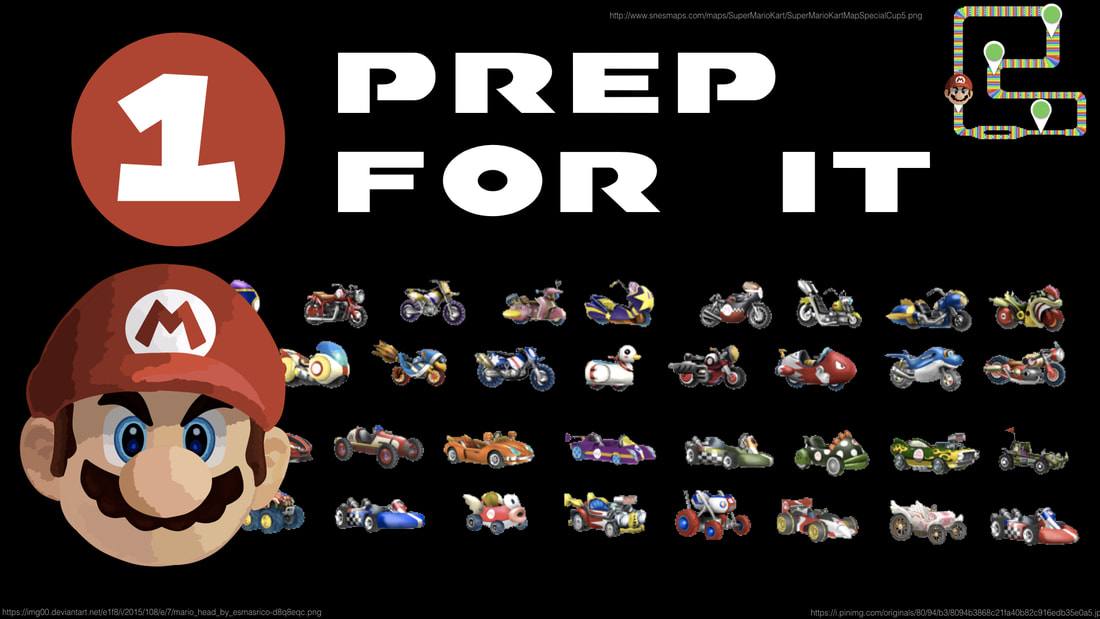
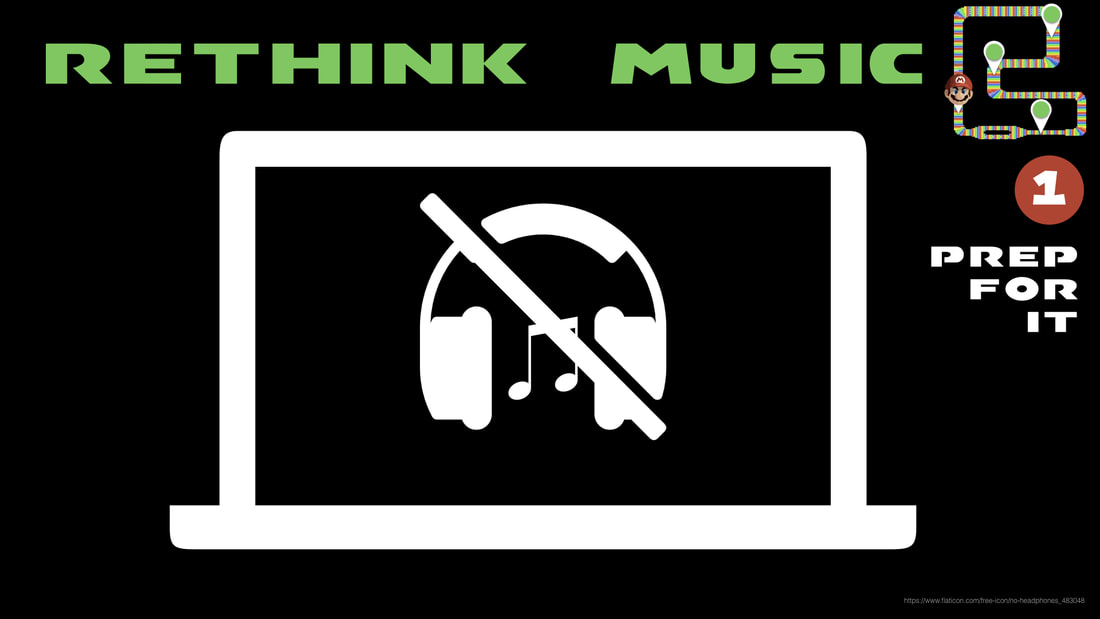
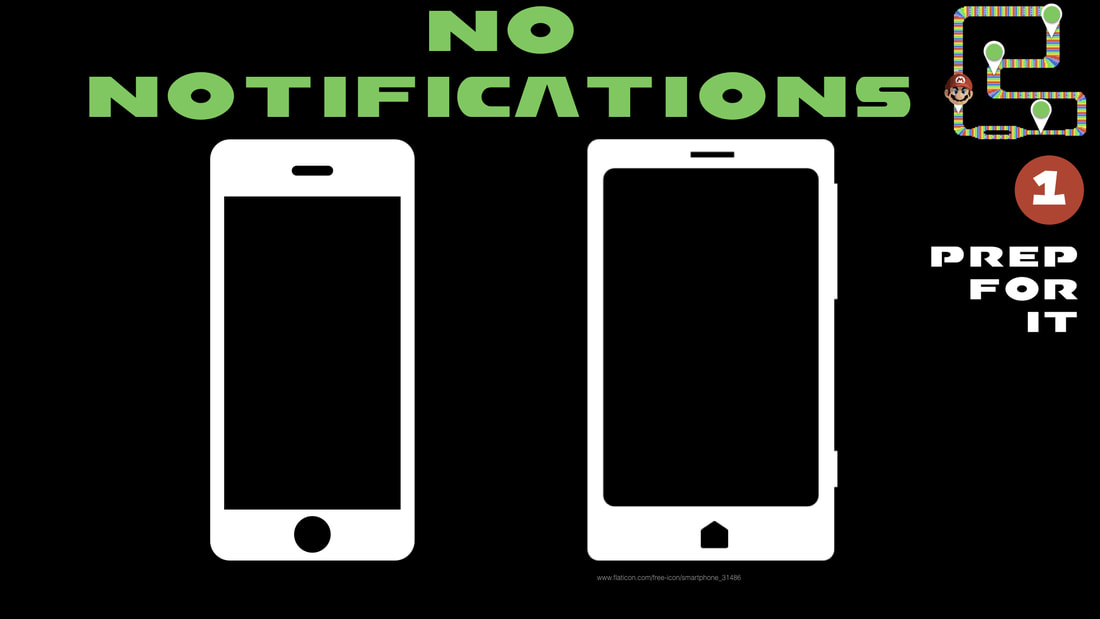
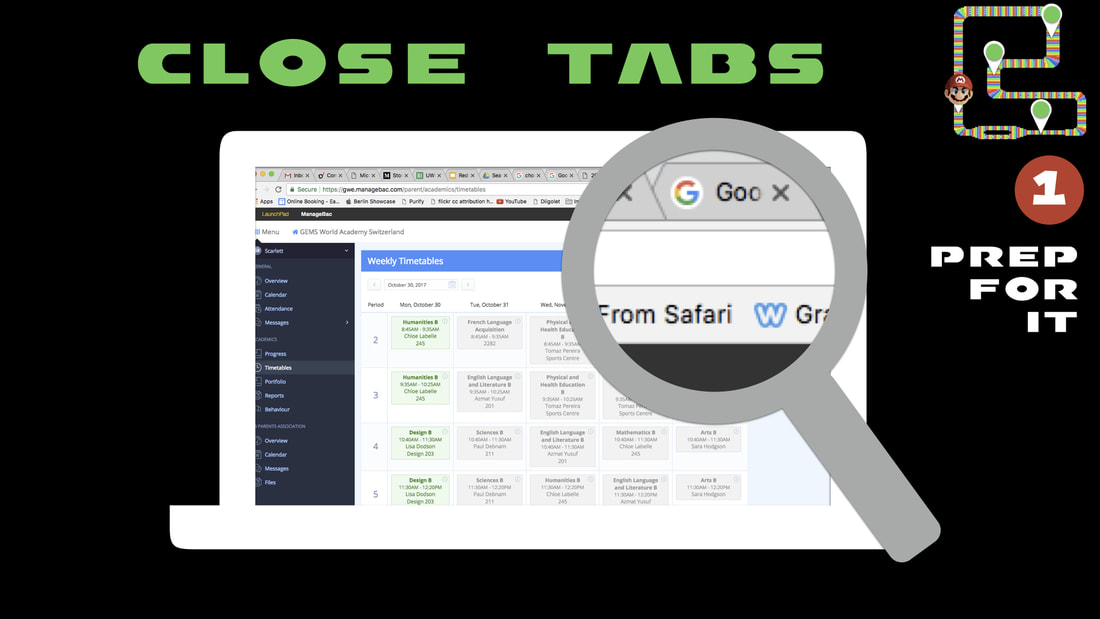
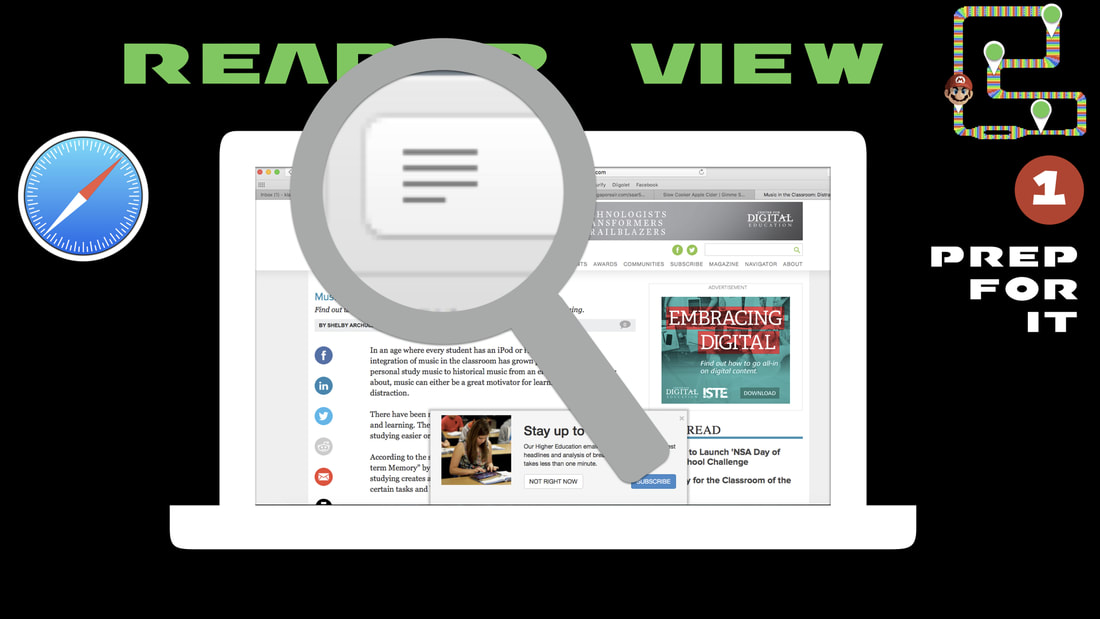
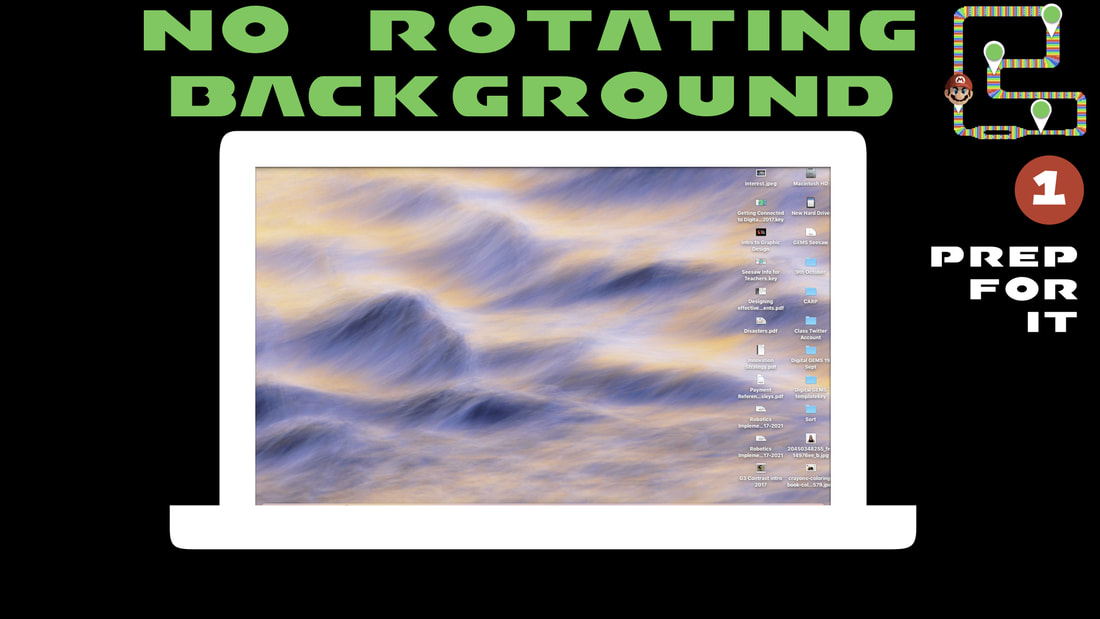
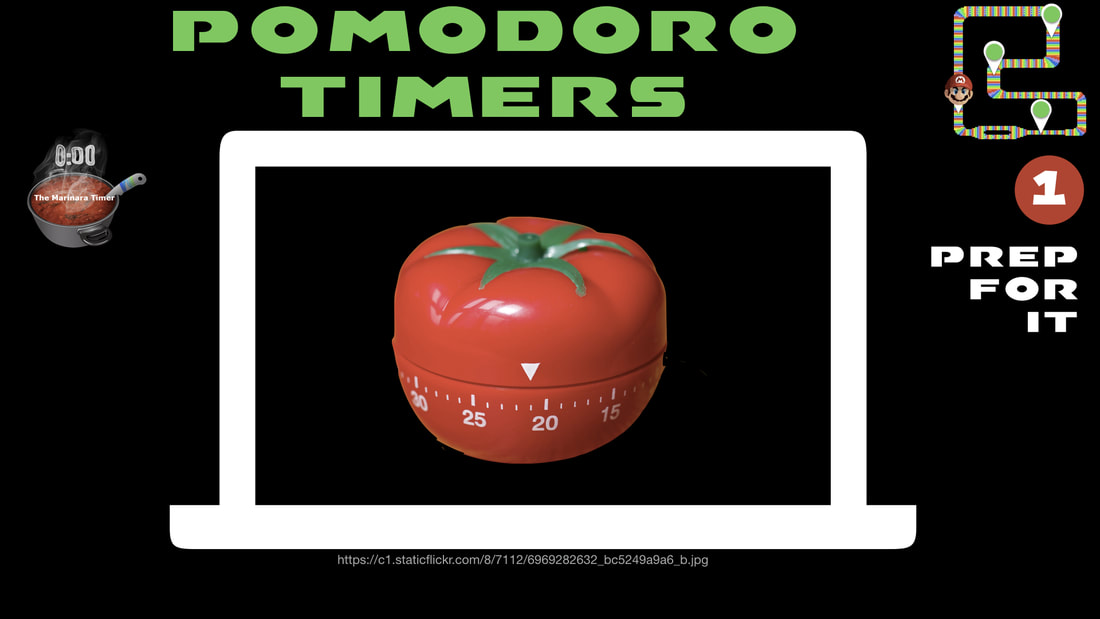
Just like choosing the right vehicle for the race, you need to set yourself up for success. Here are some tips for a positive start to your work:
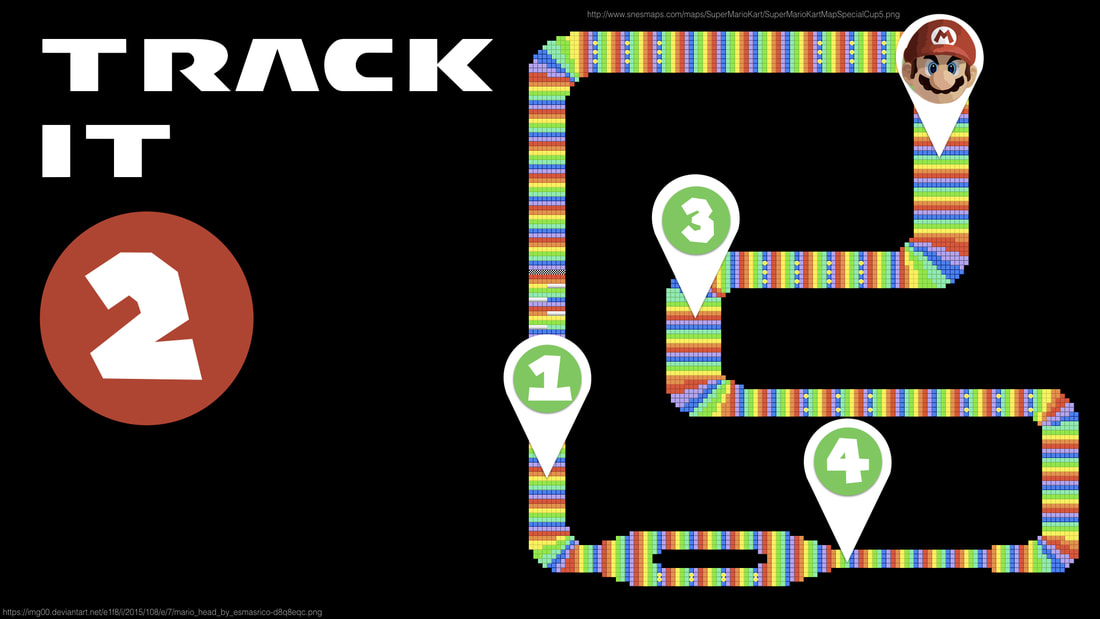
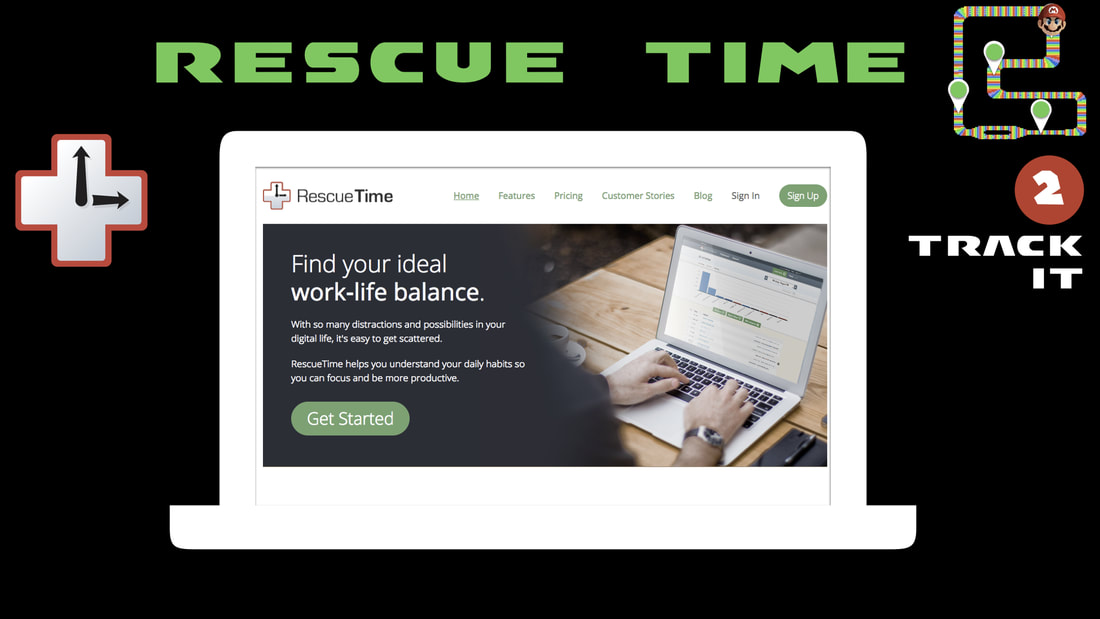
Perhaps you’re not entirely sure where your time goes when you’re trying to study? Maybe you’re adamant YouTube isn’t the problem? Either way, if you track it, you’ll know about it.
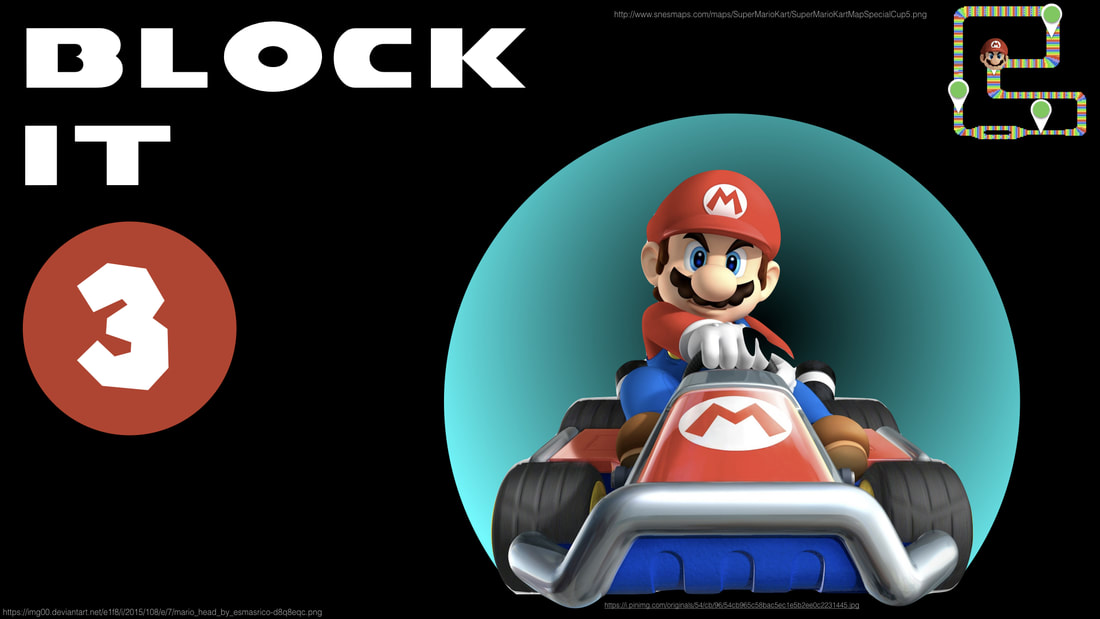
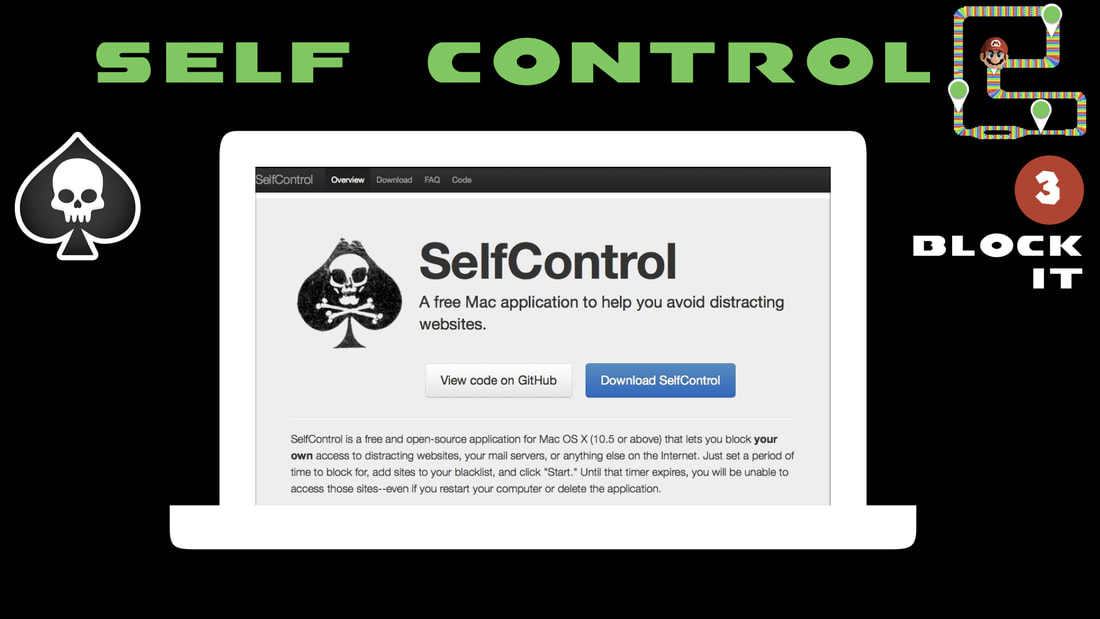
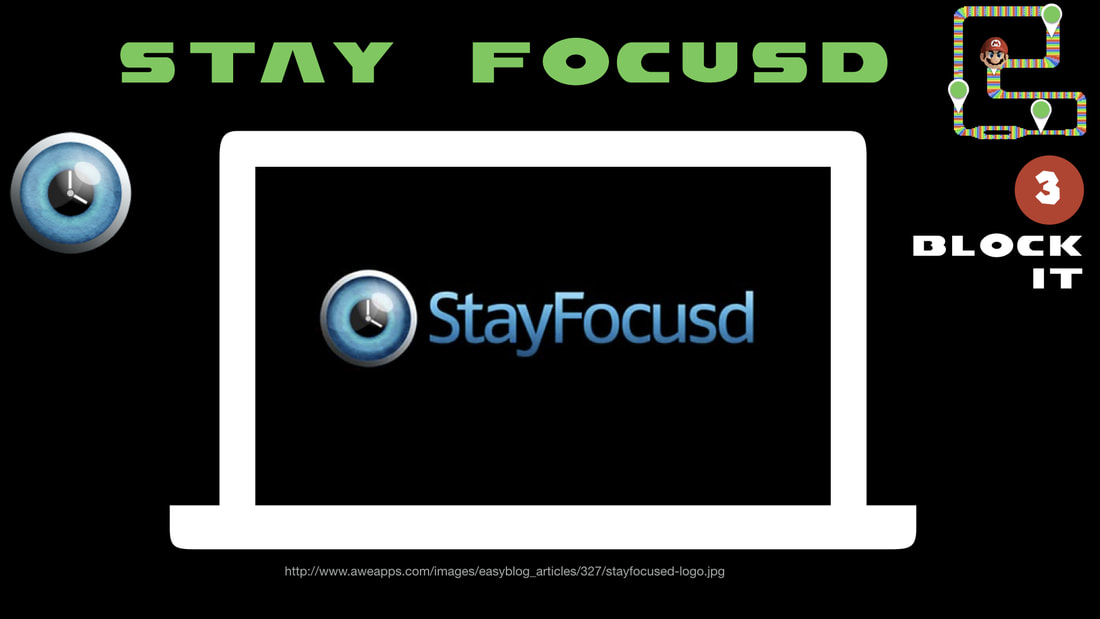
Ok, so you have tried prepping and tracking but you need to try something more proactive. Time to get some help by blocking some of the websites/apps that tend to lead you astray.
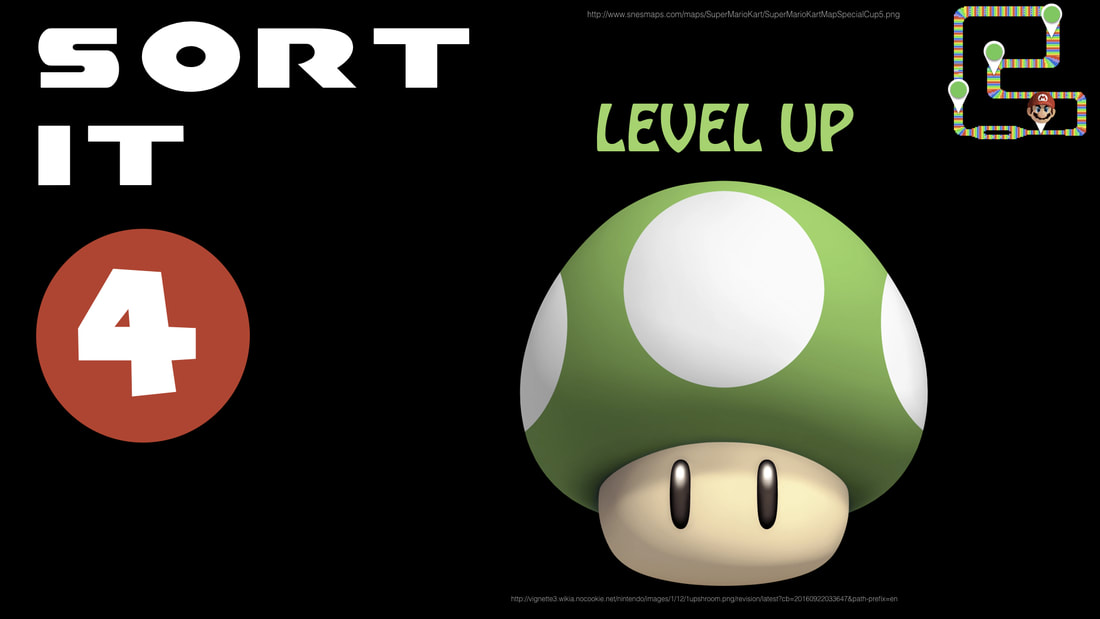
If you get organised and plan for your work in advance, you can make life so much easier. Here are some tips to help you level up with your organisation.
Below you will find a Padlet with links to resources mentioned above, and a few additional articles of interest relating to distraction.
So there you go! I hope you have a few more tools at your disposal to help manage distractions. Feel free to add suggestions below so we can all benefit from any I may have missed.
 Bring the Light
Making Media Literacy Central to Digital Citizenship
Approaches to Learning Posters

Ask anyone what their favourite sandwich is, and I'm willing to bet they'll have an answer for you. "What does this have to do with Graphic Design?" you may well ask. Stay with me, people!
While browsing my Instagram feed, I came across this beautiful post by the good folk at Dschwen Design Studio: Those who know me, will know just how excited I got by the brilliant simplicity of their Typographic Sandwich project - especially when I thought about the huge potential it has for introducing students to some Graphic Design basics, while learning a little bit about them in the process. On the surface, one might think there is nothing much to this: after all, change a few words and colours, and you're done. But there is so much to explore within these restrictions. In the words of interface designer Aza Raskin, "Design is the beauty of turning constraints into advantages.
Let me share some advantages with you.
Easy Access
Almost everyone can think of a sandwich combination, even if it's not a favourite. The entry points are such that students won't be blocked by coming up with ideas. For EAL learners, options include the use of visuals (a quick search for their favourite sandwich can be done in any language), and/or the use of the child's home language to create the finished product.
Achievable
The Typographic Sandwich is an activity in which all students can achieve success. The font (Helvetica Bold) remains the same throughout. The devil is in the details - and that's where the CARP design principles come in.
Contrast, Alignment, Repetition and Proximity all come into play here. For more insight into each principle, please check out Design Secrets Revealed.
Contrast - All words need to be easily read, meaning they need to stand out sufficiently from the background. A background colour needs to be selected so that every word is readable. Alignment - This really is the area in which the bulk of the design challenge exists. Secondary-Click > Align Objects > Left, brings all text boxes into the same alignment on the left.
Similarly, Secondary Click > Distribute Objects > Vertically, equally distributes objects vertically between the first and last object selected.
Repetition - exists here in the form of the font (Helvetica Bold) and the size of the text.
Proximity - the location/position of both the names of the people and the sandwich text are the same in each of the three examples. This is no accident. By selecting the sandwich words, and looking at the Arrange tab on the right, I can see the X position of each item is 281. I can select the items on the other slides and ensure they also have the same position, thus ensuring a cohesive overall feel to the presentation. 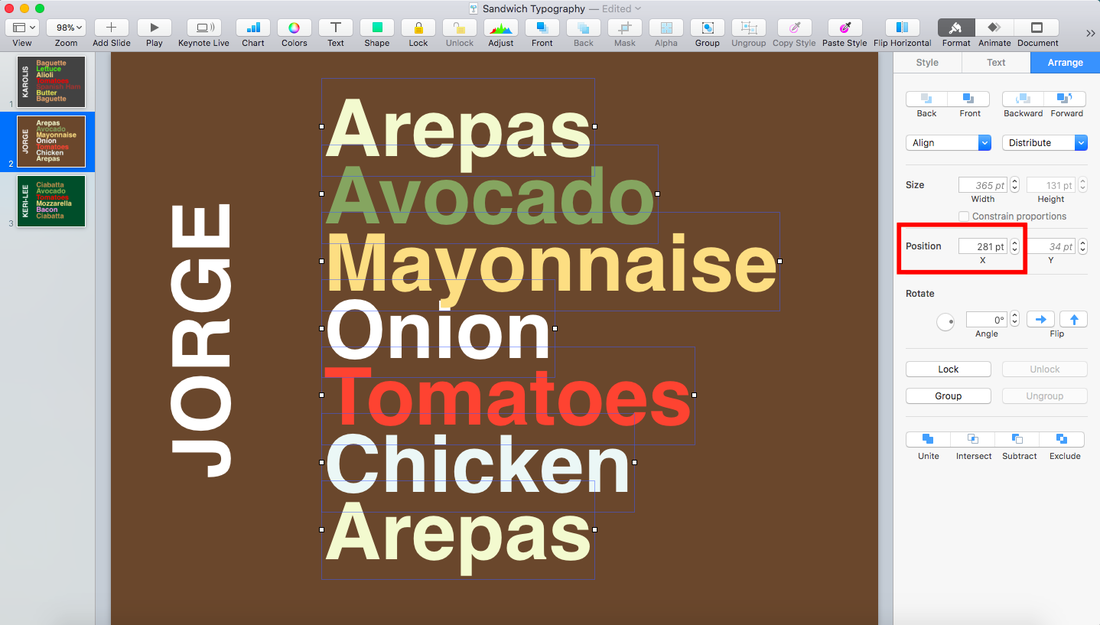
Colour Matching
Using the eye dropper tool in Keynote, students can match colours from images they have found of their perfect sandwich, or they can make an educated guess. Regardless, this is an excellent technique for students to learn.
Pastoral Connections
Connecting to the students in my classes and learning more about them has always been important to me as an educator. While preparing these examples for you, I asked the members of my Tech team to share their favourite sandwiches, and it gave me a unique insight into their likes and dislikes, and I learned a lot too! Karolis taught me that there IS a difference between Aoli (Italian) and Alioli (Spanish), and in his opinion, the latter was infinitely preferable. From Jorge, I learned about Arepas - something I had never come across in my travels thus far. What might this teach you about the students in your class? How might your interaction with them be strengthened as a result of this connection?
If you would like to share your examples with me, please feel free to add them to this collaborative Google Slides presentation. I simply exported my Keynote slides as images, and added them to the presentation.
Cross-Posted at Tip of the Iceberg
 Into Film
What Your Students Really Need to Know About Digital Citizenship
How to Draw Your Own Selfie — Using Your Personal Data
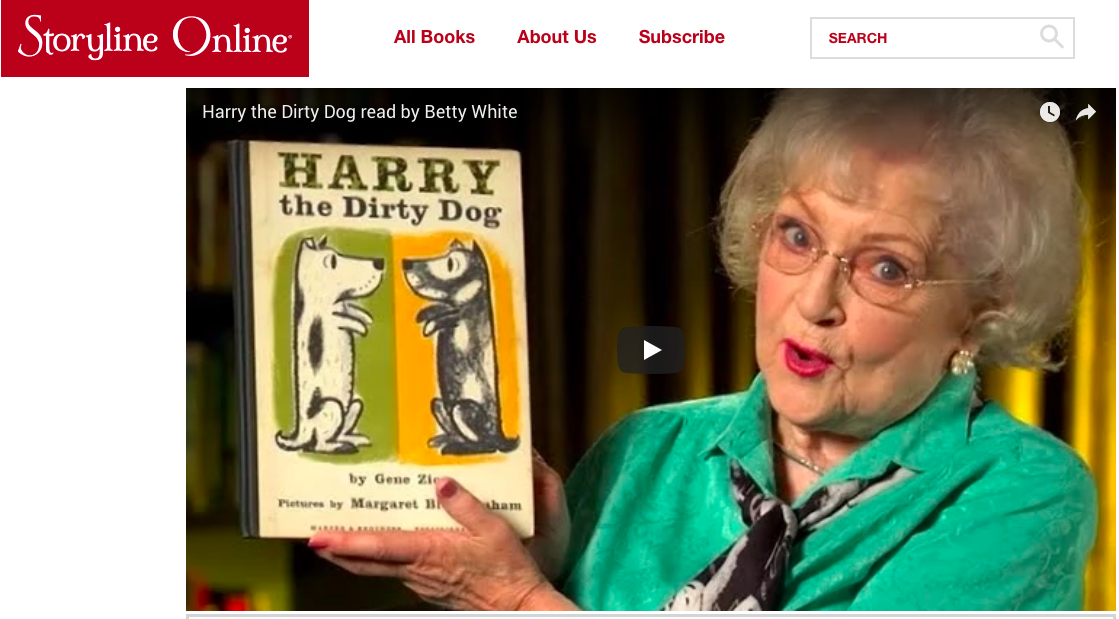
 Storyline Online
Turning Your Students into Web Detectives
The Power of Being Seen
|


 RSS Feed
